DIY Collage: Needed Tools & Supplies
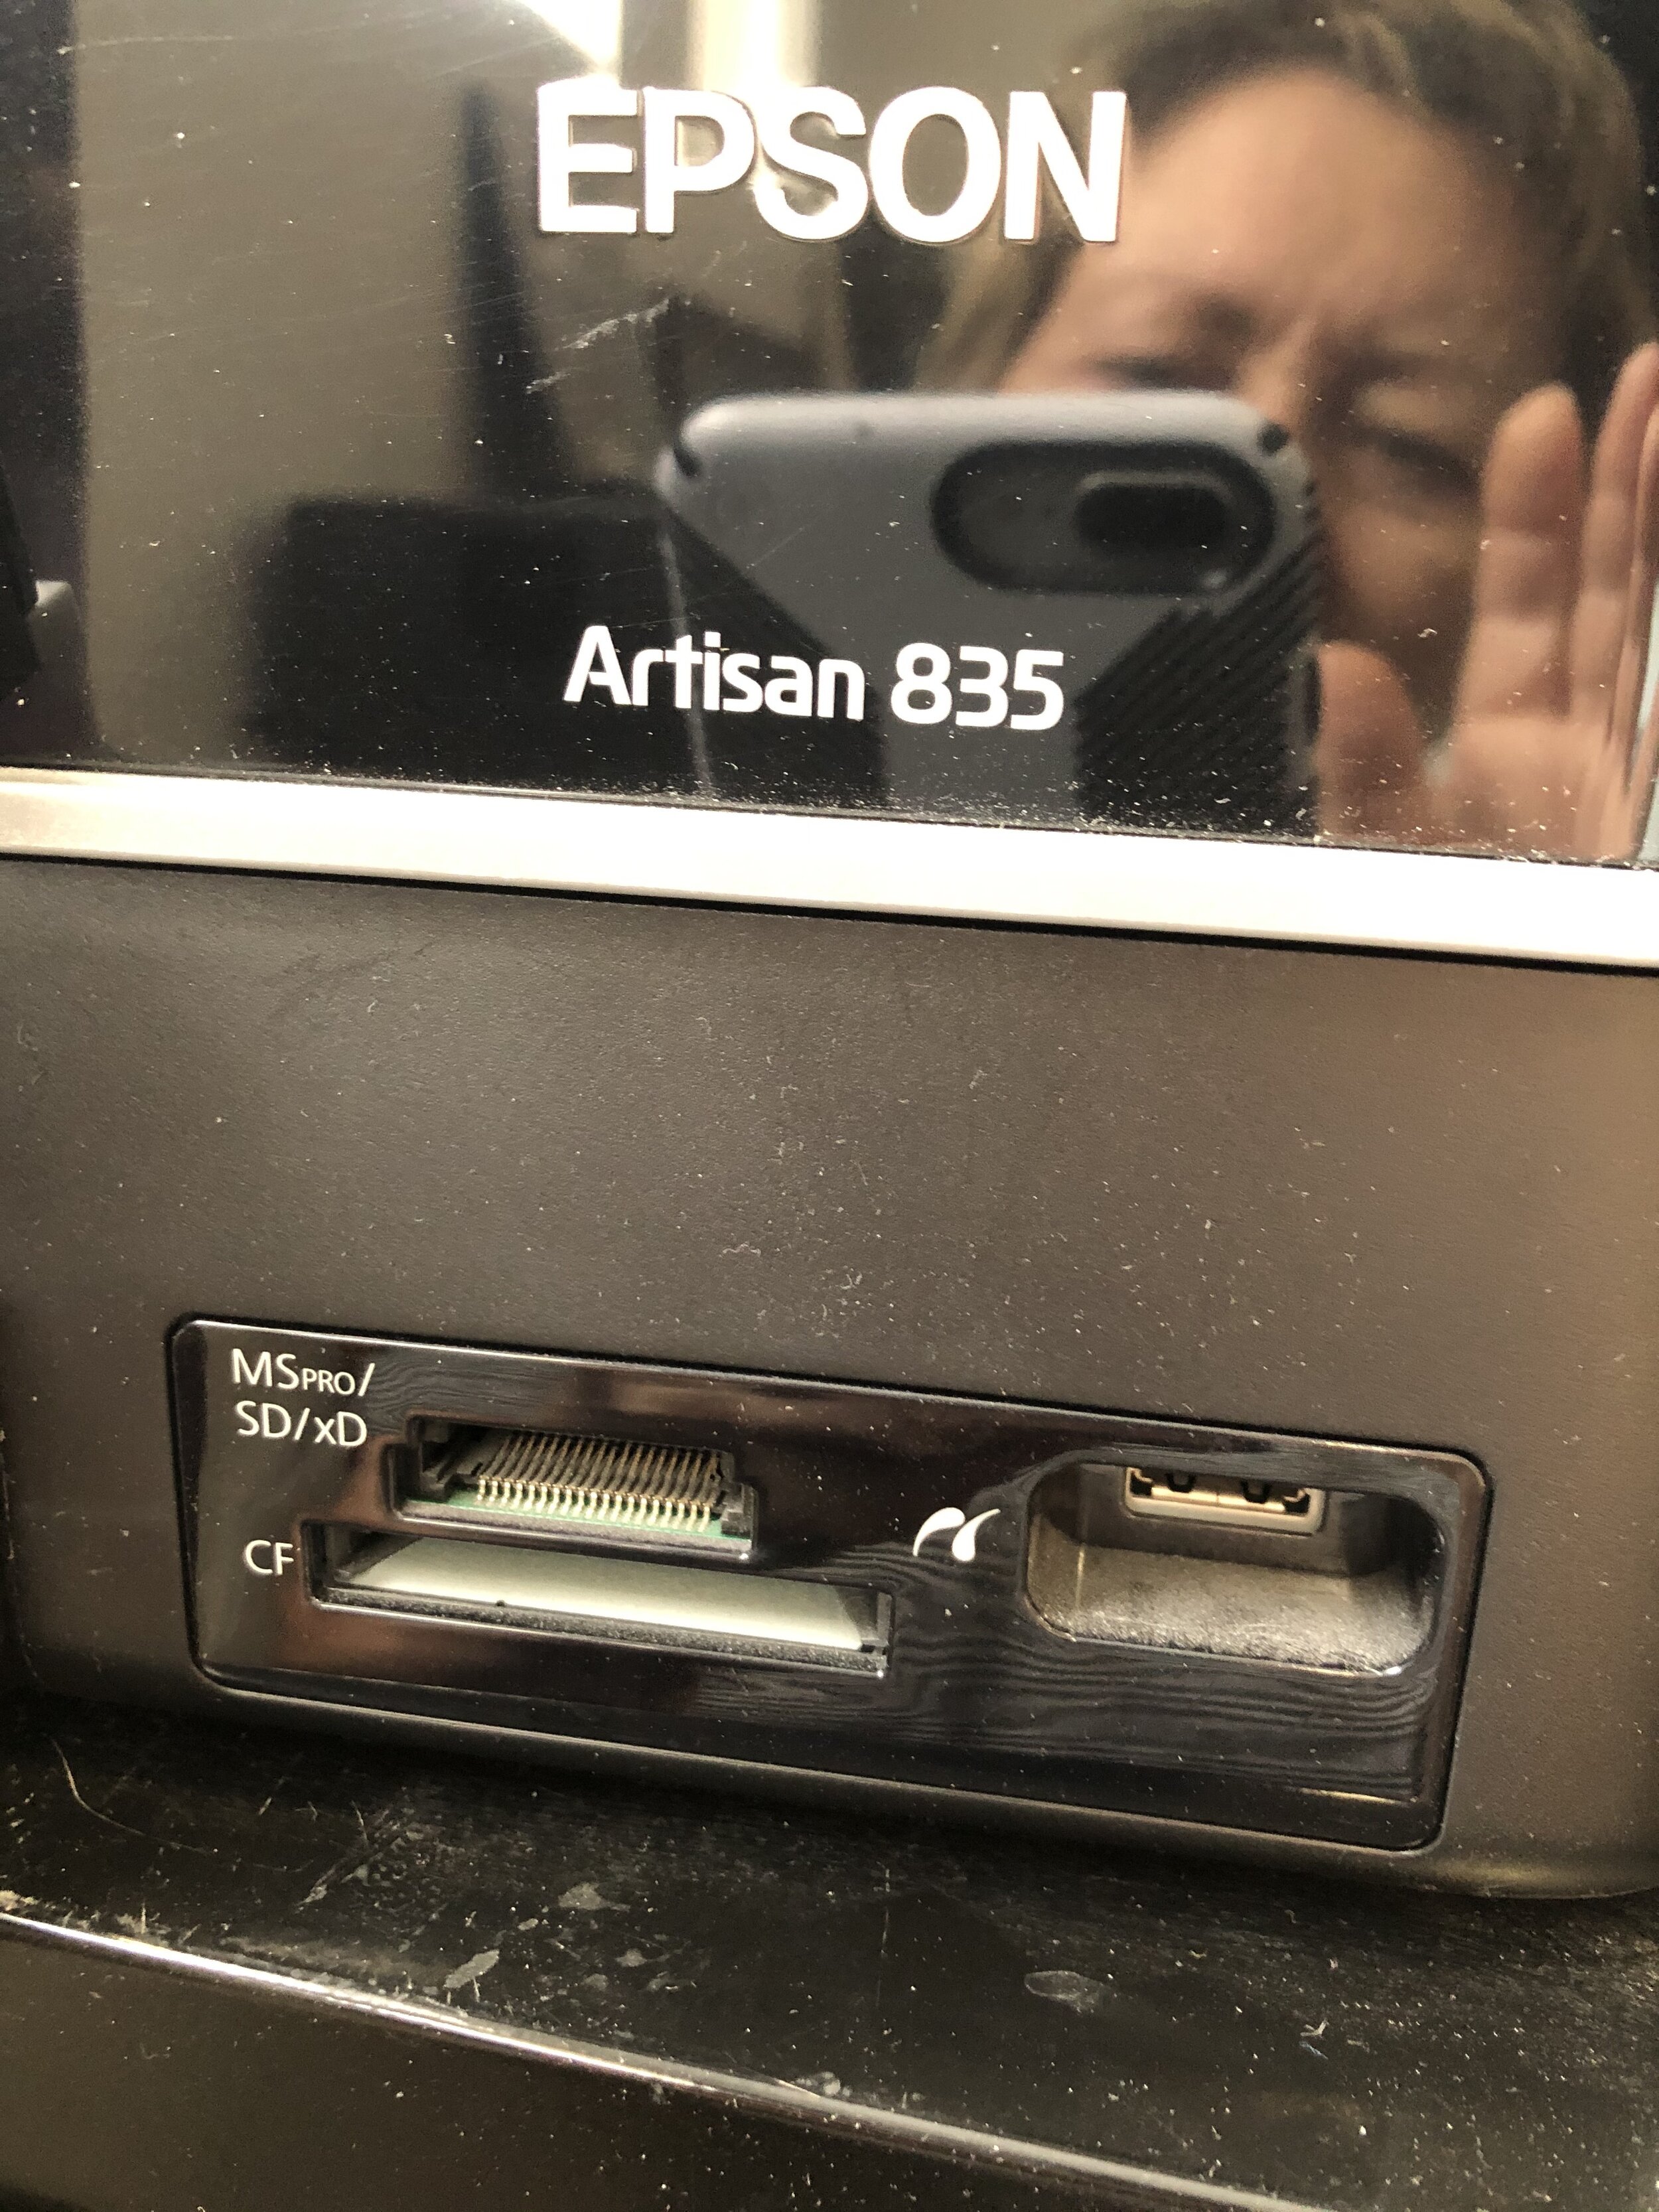
PRINTER: For printing photos for collage, my trusty ink jet printer is an Epson Artisan 835; it’s been a workhorse!
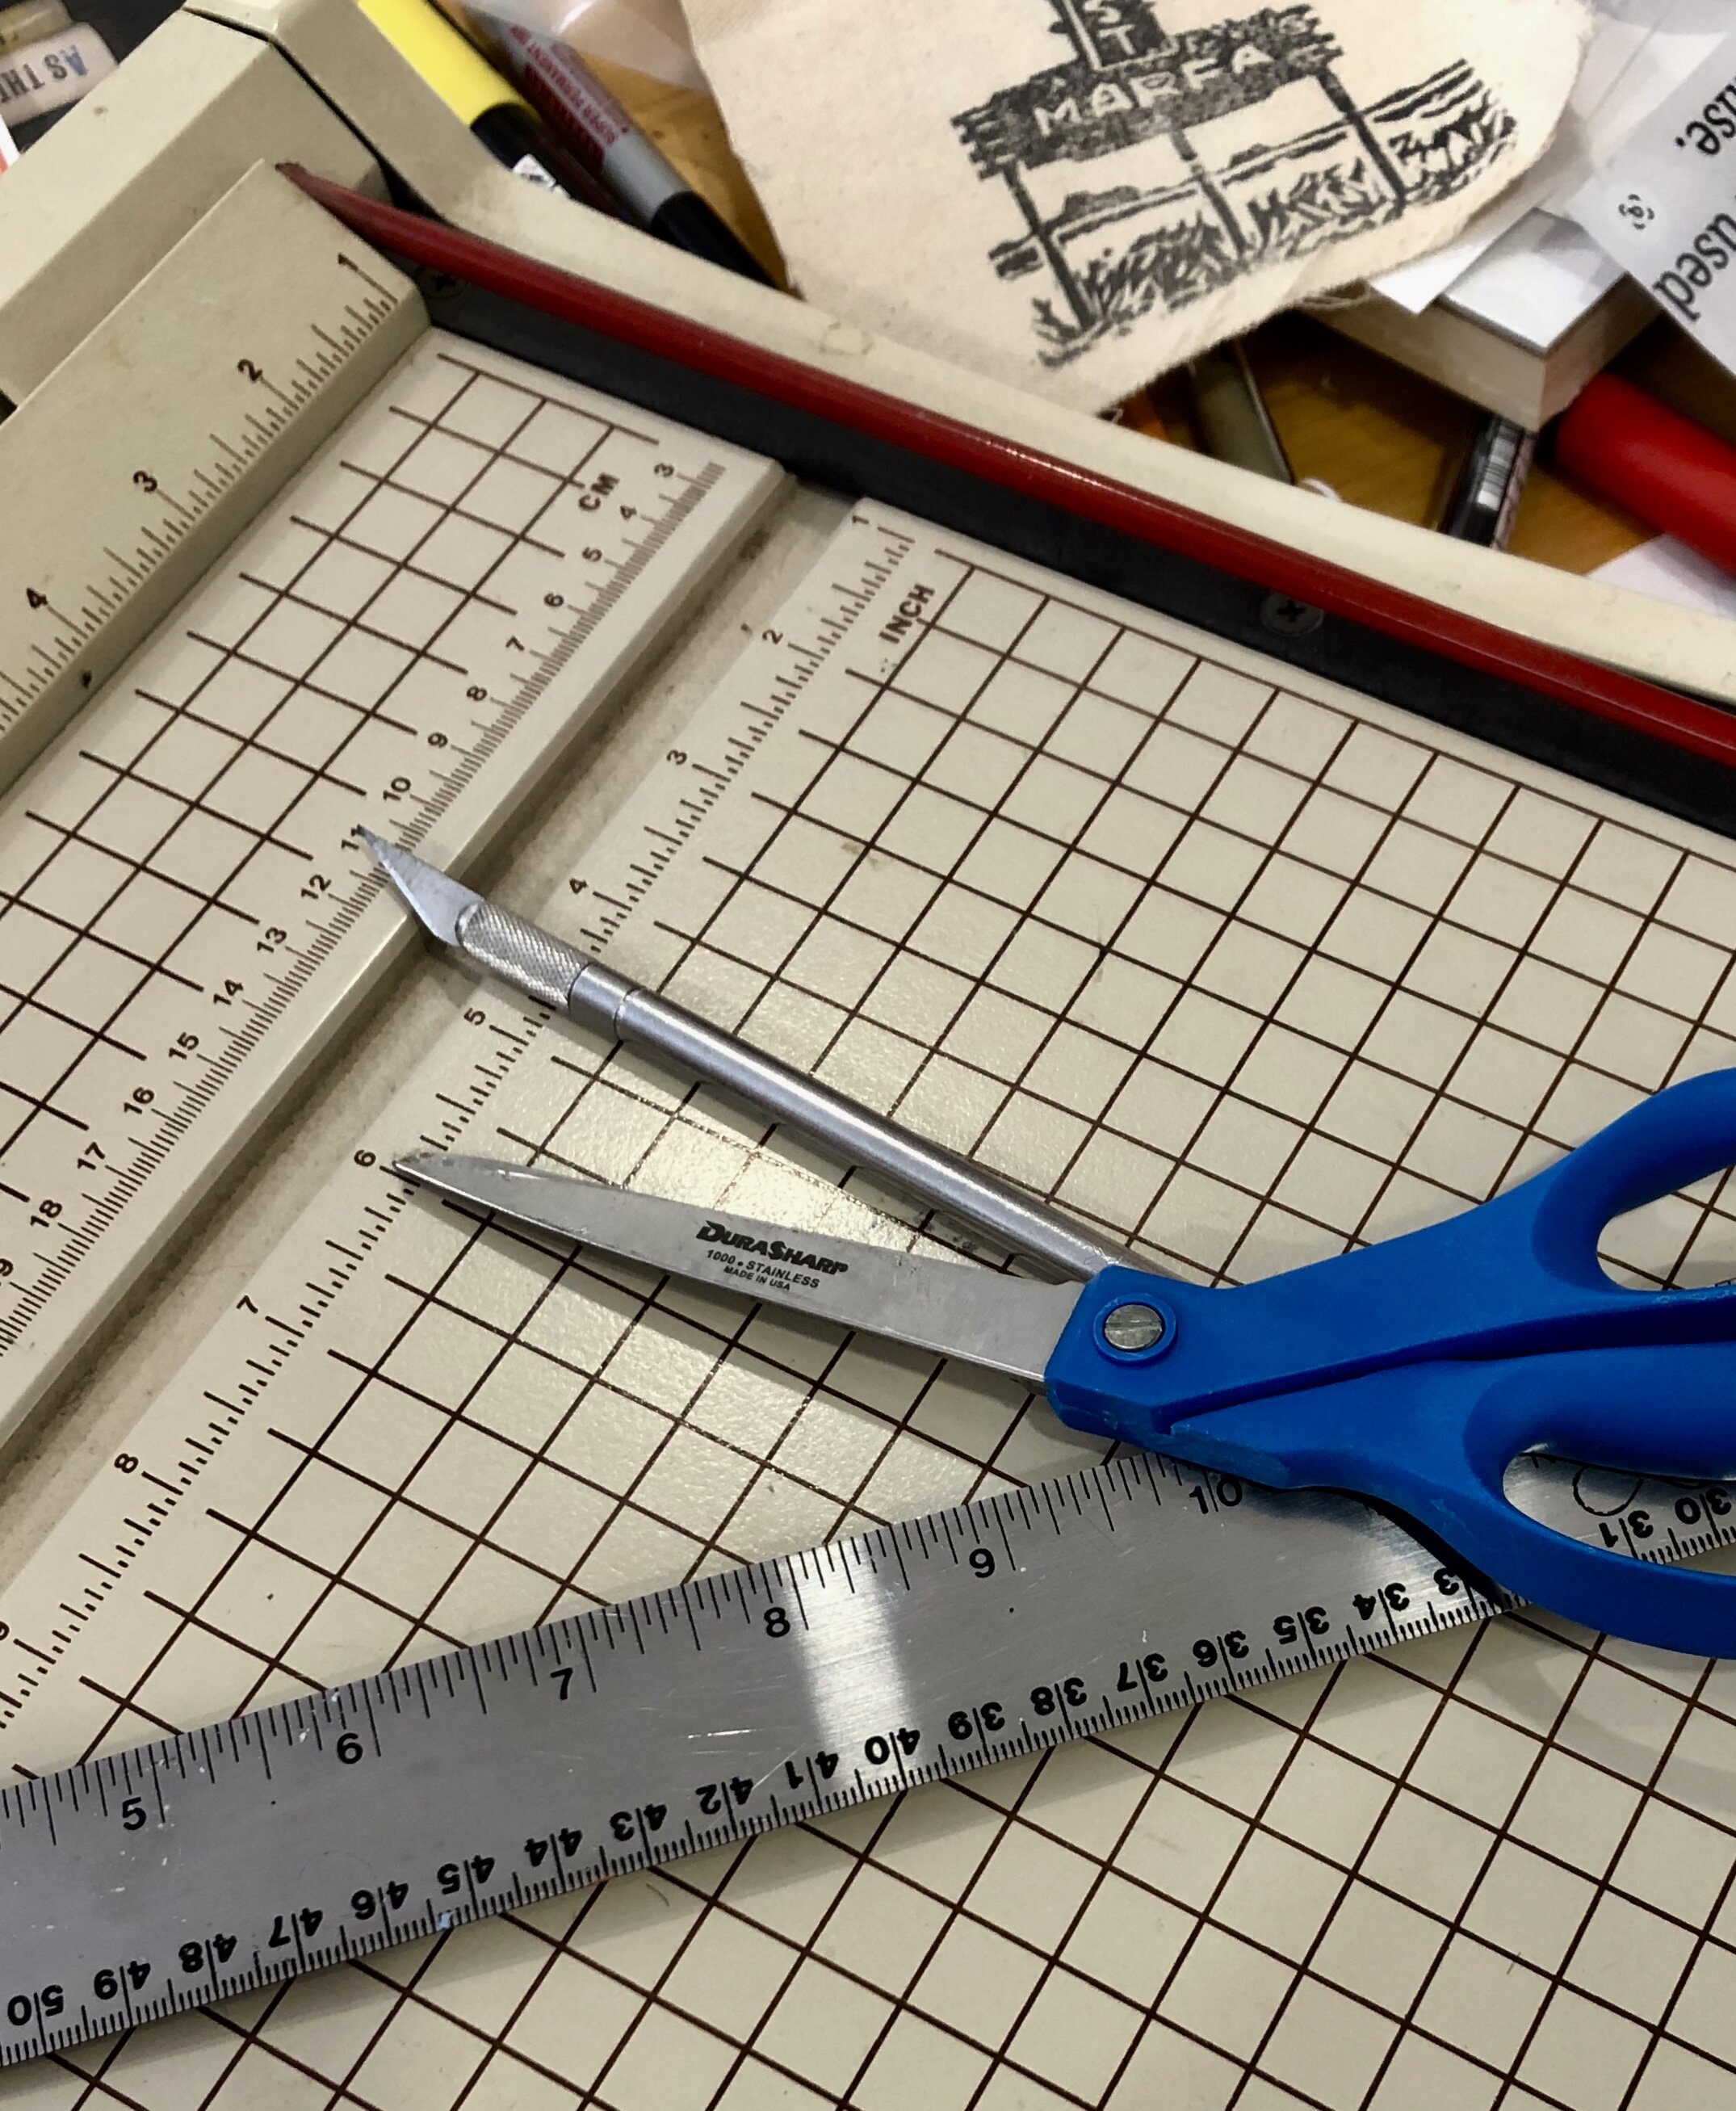
CUTTING: You’ll also need cutting tools: scissors, X-Acto knife (and metal-edged ruler), plus a paper cutter is useful for larger projects. A cutting mat should also be used to protect your work surface.
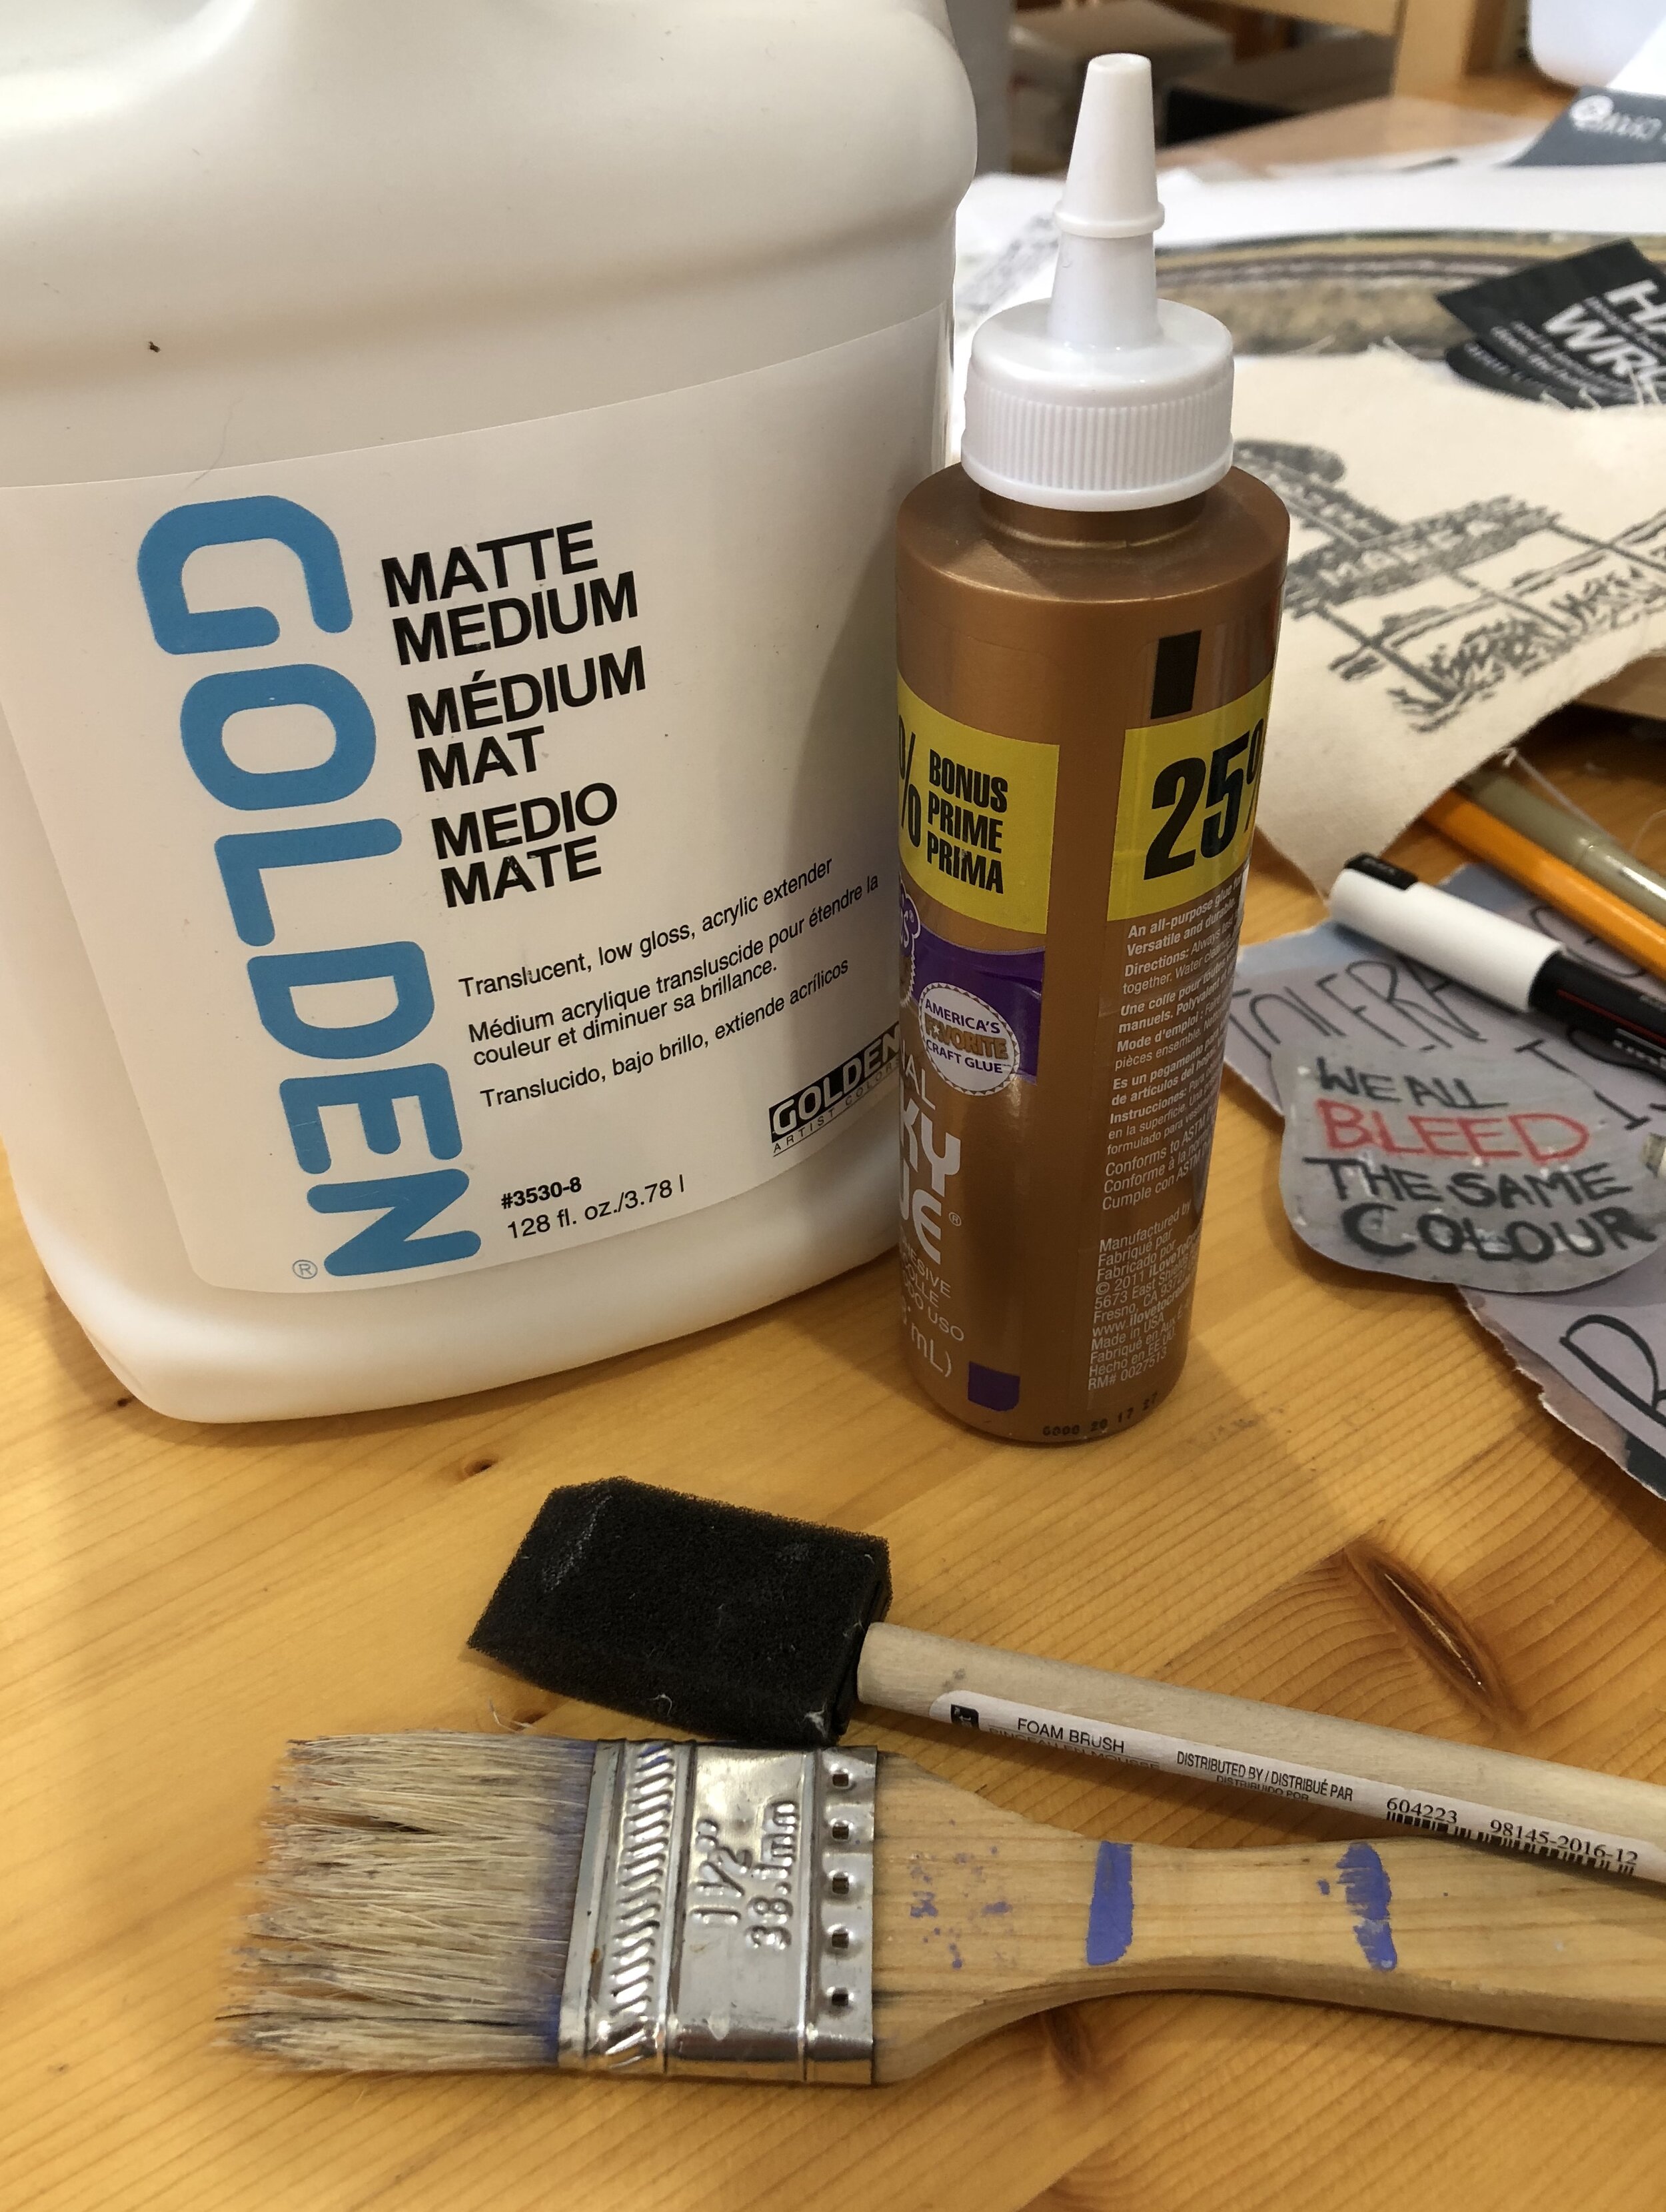
ADHESIVES: I use Golden Matte Medium (gloss also available), but no worries, you don’t have to buy a gallon as I do! Basic craft glues (white glues that dry clear) also work for adhesion, though you may need to water them down a little to avoid “glue ridges.”
BRUSHES: Soft flat brushes (small or larger depending on project size) are ideal for applying “glue” to the back of papers (and for later adding top coats of medium). I most often use cheap flat “house paint” brushes (1-1/2” or 2”), or sometimes foam brushes, that can be thrown away after a certain number of uses.
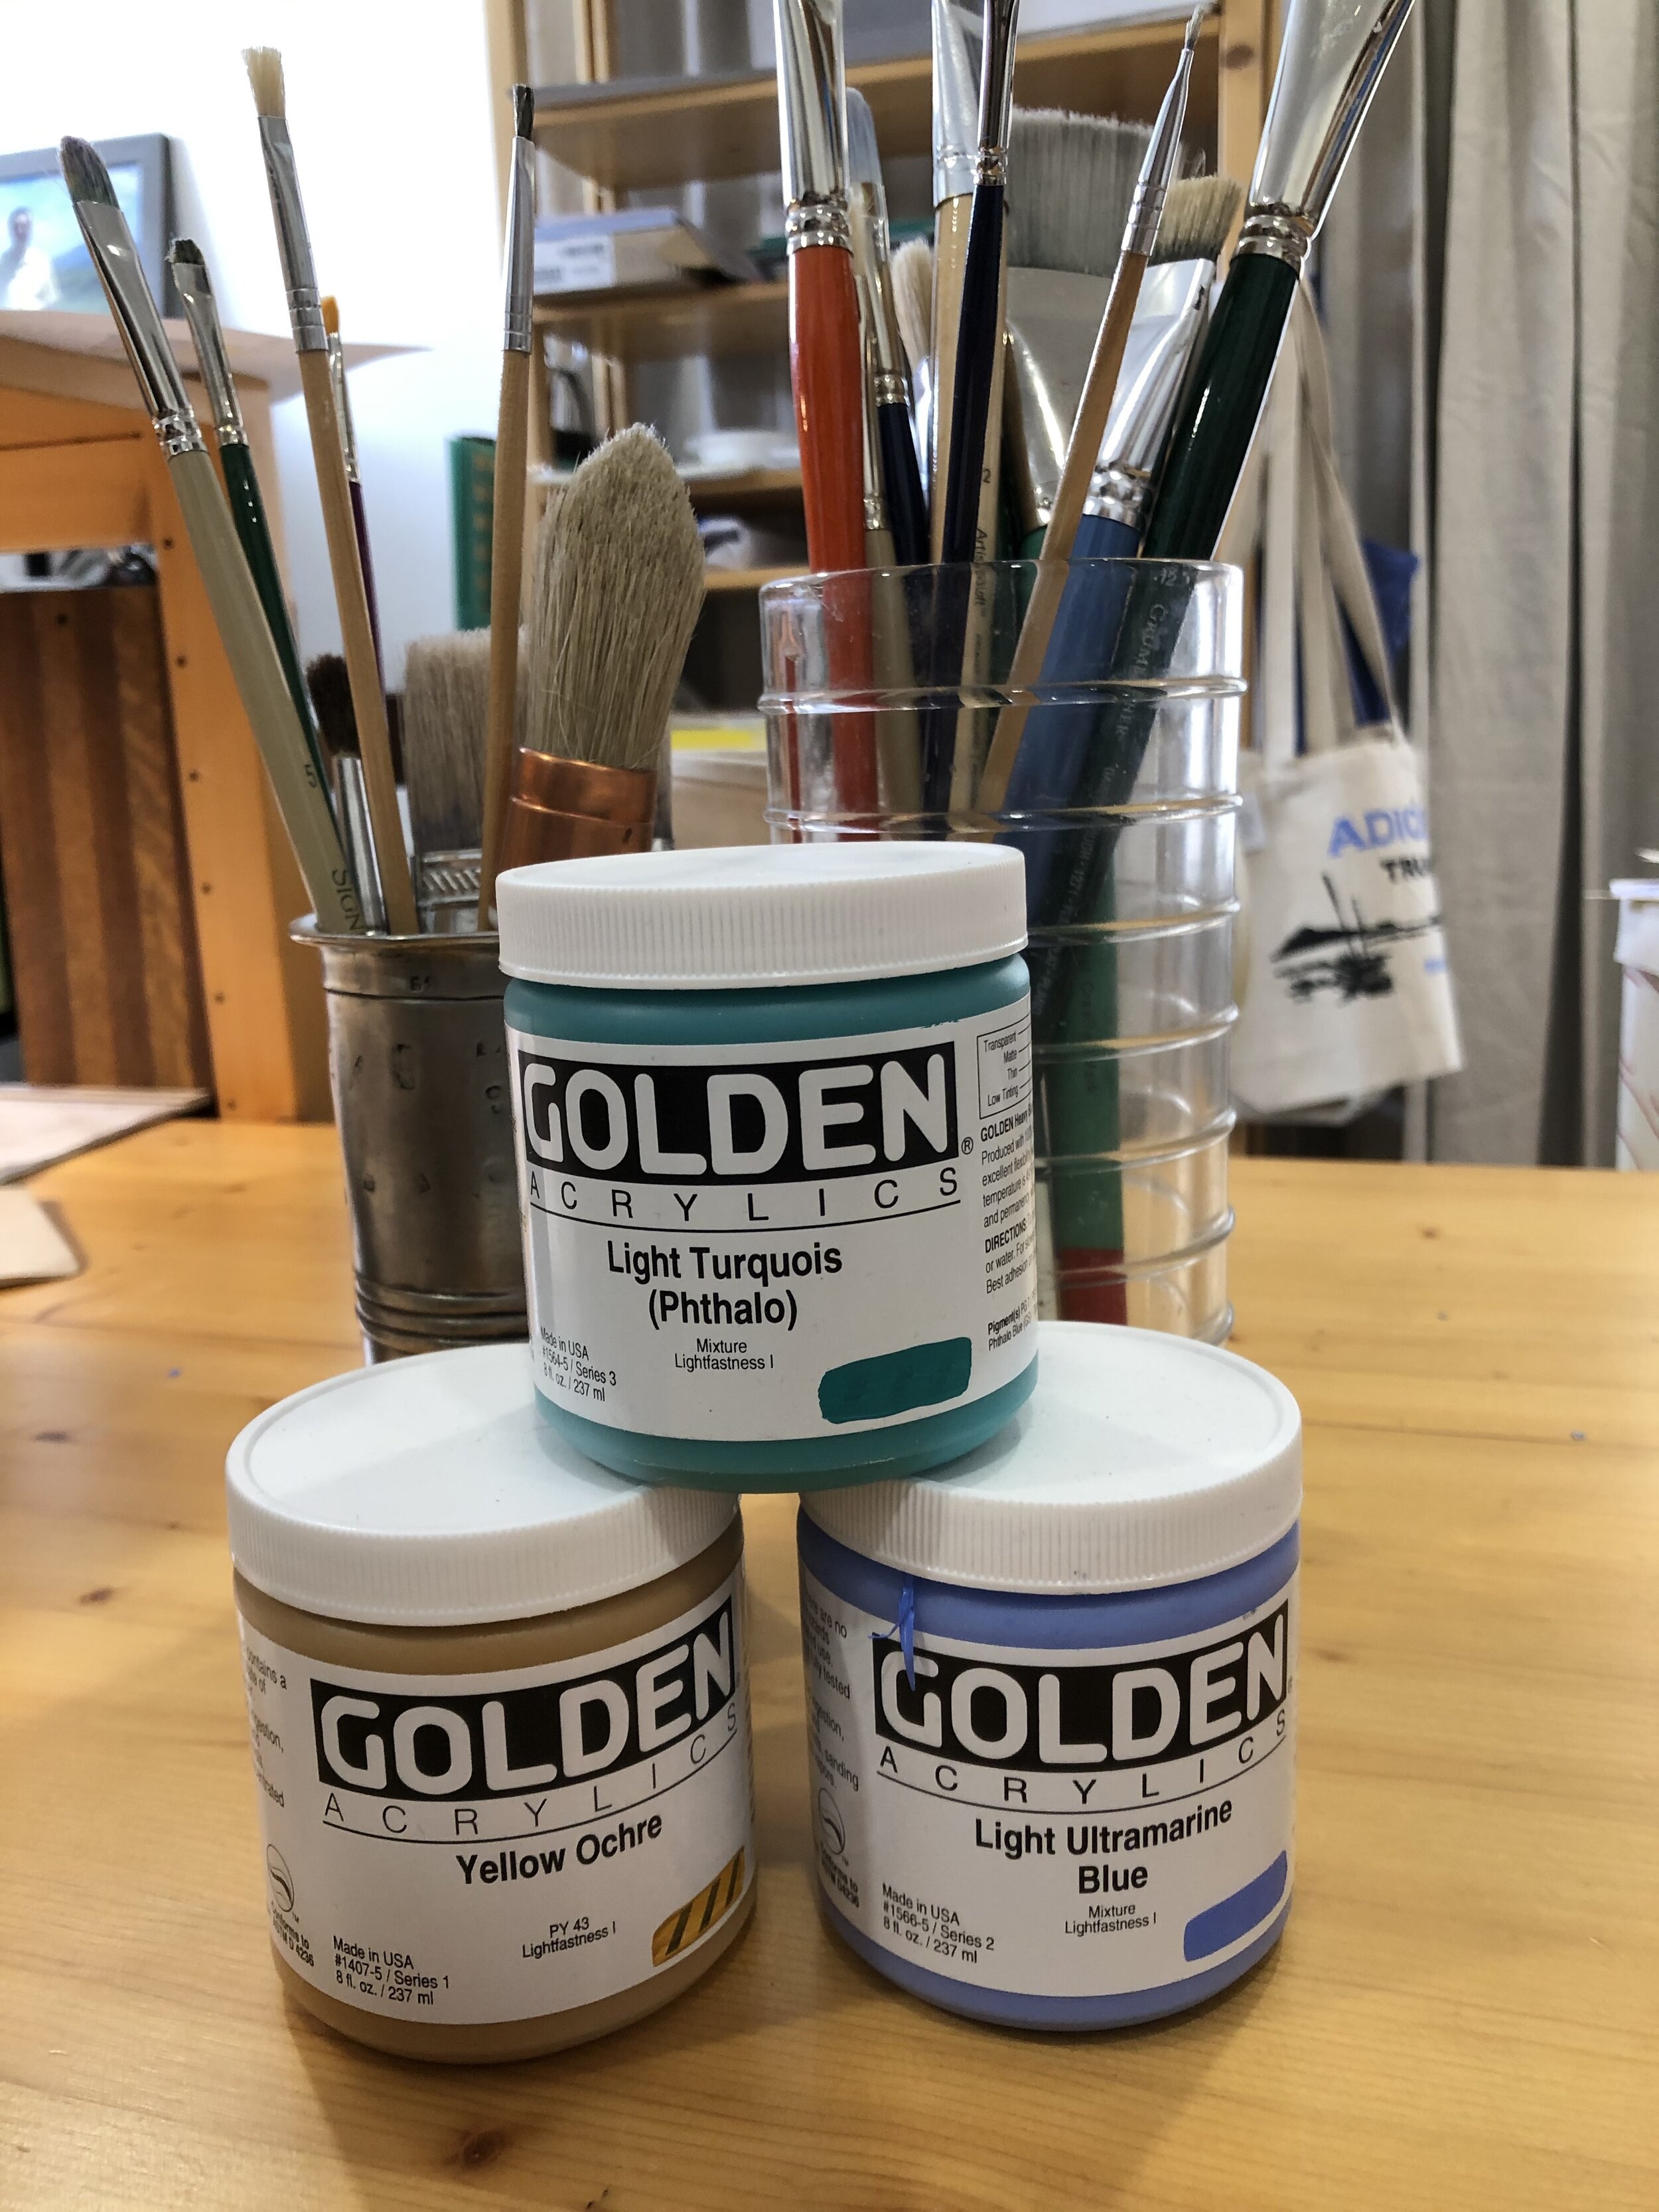
OTHER: Two key items that I also use are waxed paper and paper towels. Waxed paper allows me to brush glue onto the backs of paper pieces without getting the gooey stuff on my work table; it’s equally valuable when placed on top of freshly glued papers as you smooth out the wrinkles. Paper towels are used for wiping excess glue, but balled in a wad it can be used like a brayer (which I don’t use because it’s hard to keep them glue-free); a ball of paper towel works well to smooth/flatten on top of the waxed paper. (If desired, acrylic paint details can be added to your work, on top of the collaged base.)


